Setting Up & Managing Payments
Feature Overview
Payments are processed securely by Stripe, and the funds are paid out to your nominated bank account. You can connect a single Stripe account at the organisation level or connect multiple Stripe accounts and choose which one each event or bookable should pay into — useful for communities that need to keep funds separate (for example, when a clubhouse and a café are run by different operators).
Residents pay using a credit or debit card directly in the app. Where appropriate, you can also accept cash and mark the payment as received yourself.
Connecting Your Stripe Account
Before you can charge for anything, you need to connect a Stripe account. This is done from the Organisation Payment settings page in the admin portal.
To get there, click Settings in the left-hand menu, then select Organisation, then Payment.
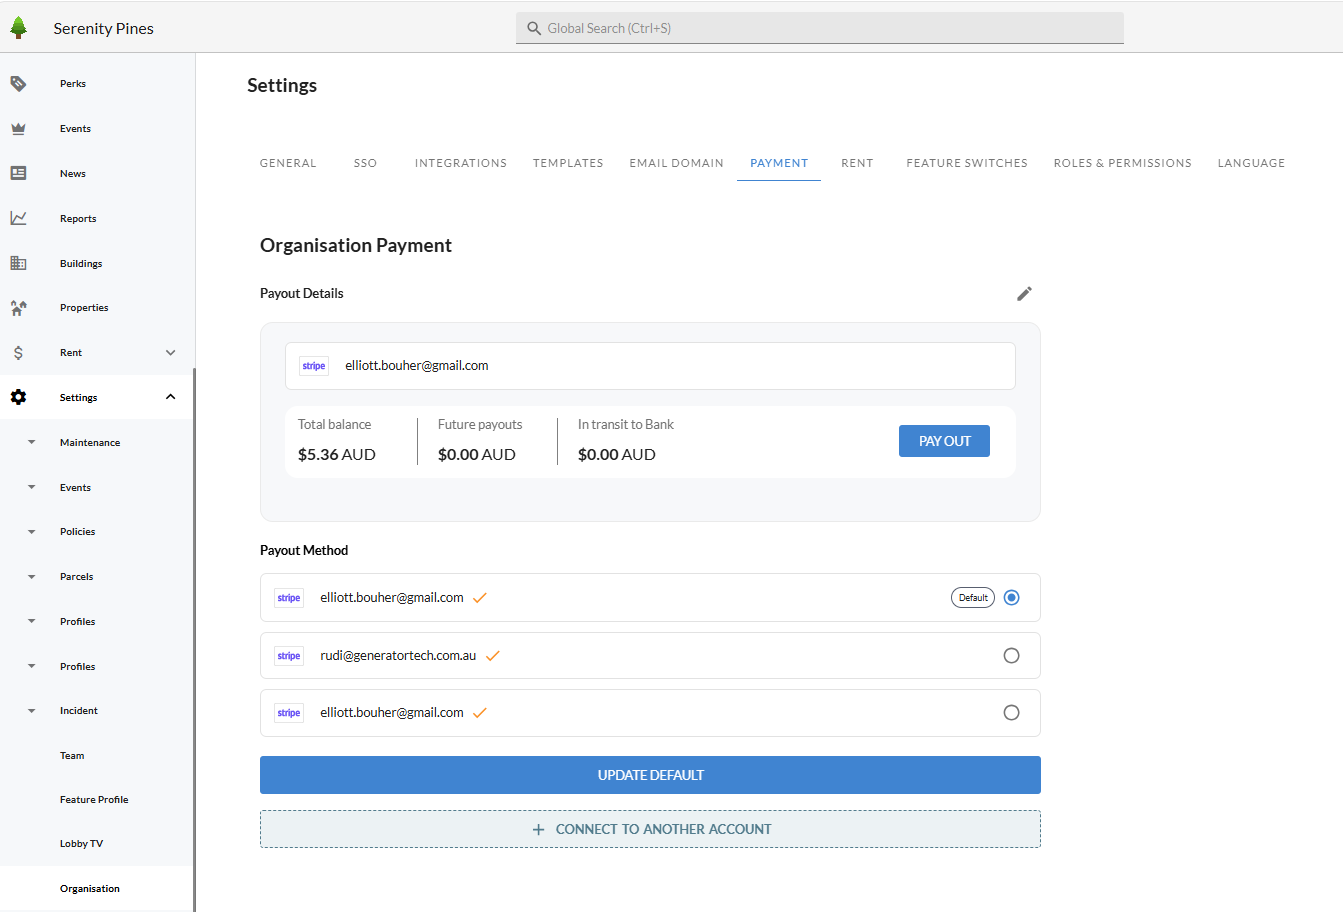
If this is the first time you are connecting Stripe, the page will be mostly empty. Click the Connect to Another Account button to start the connection process.
You will be asked to:
- Enter the email address you would like to use for the Stripe account. This is the email that will receive Stripe notifications — we recommend using a shared finance or admin inbox rather than a personal one.
- Click Create. The account is created and a Set up button appears next to it — click that to be redirected to Stripe and complete onboarding.
- Complete the Stripe form with your business details, the bank account you want payouts to go to, and any verification documents Stripe asks for. This step is handled entirely by Stripe.
- Once Stripe is happy with your information, you will be returned to the admin portal. A green tick will appear next to the account once it is fully verified and ready to accept payments.
TIP: Stripe may require some back-and-forth before your account is fully verified — for example, providing photo ID or a document showing your business address. Until Stripe confirms that charges and payouts are both enabled, residents will not be able to pay through that account. You can always come back to the Payment settings page to check the status.
Adding Multiple Stripe Accounts
Most organisations only need one Stripe account, but you can connect as many as you like. This is useful when:
- Different parts of the community are operated by different entities (for example, a third-party café tenant collecting their own takings).
- You want to separate event income from bookable income.
- You manage multiple buildings or brands under one admin login.
To add another account, go to Settings > Organisation > Payment and click Connect to Another Account again. Each new account goes through the same Stripe onboarding flow described above.
One account must always be marked as the default. The default account is used automatically for any event or bookable that doesn't have its own Stripe account selected. To switch the default, select the radio button next to the account you want to use, then click Update Default.
TOP TIP: The first account you connect is automatically set as the default. If you only ever plan to use one account, you don't need to do anything else — every paid event and bookable will use it.
Now you're ready to create a Paid Event